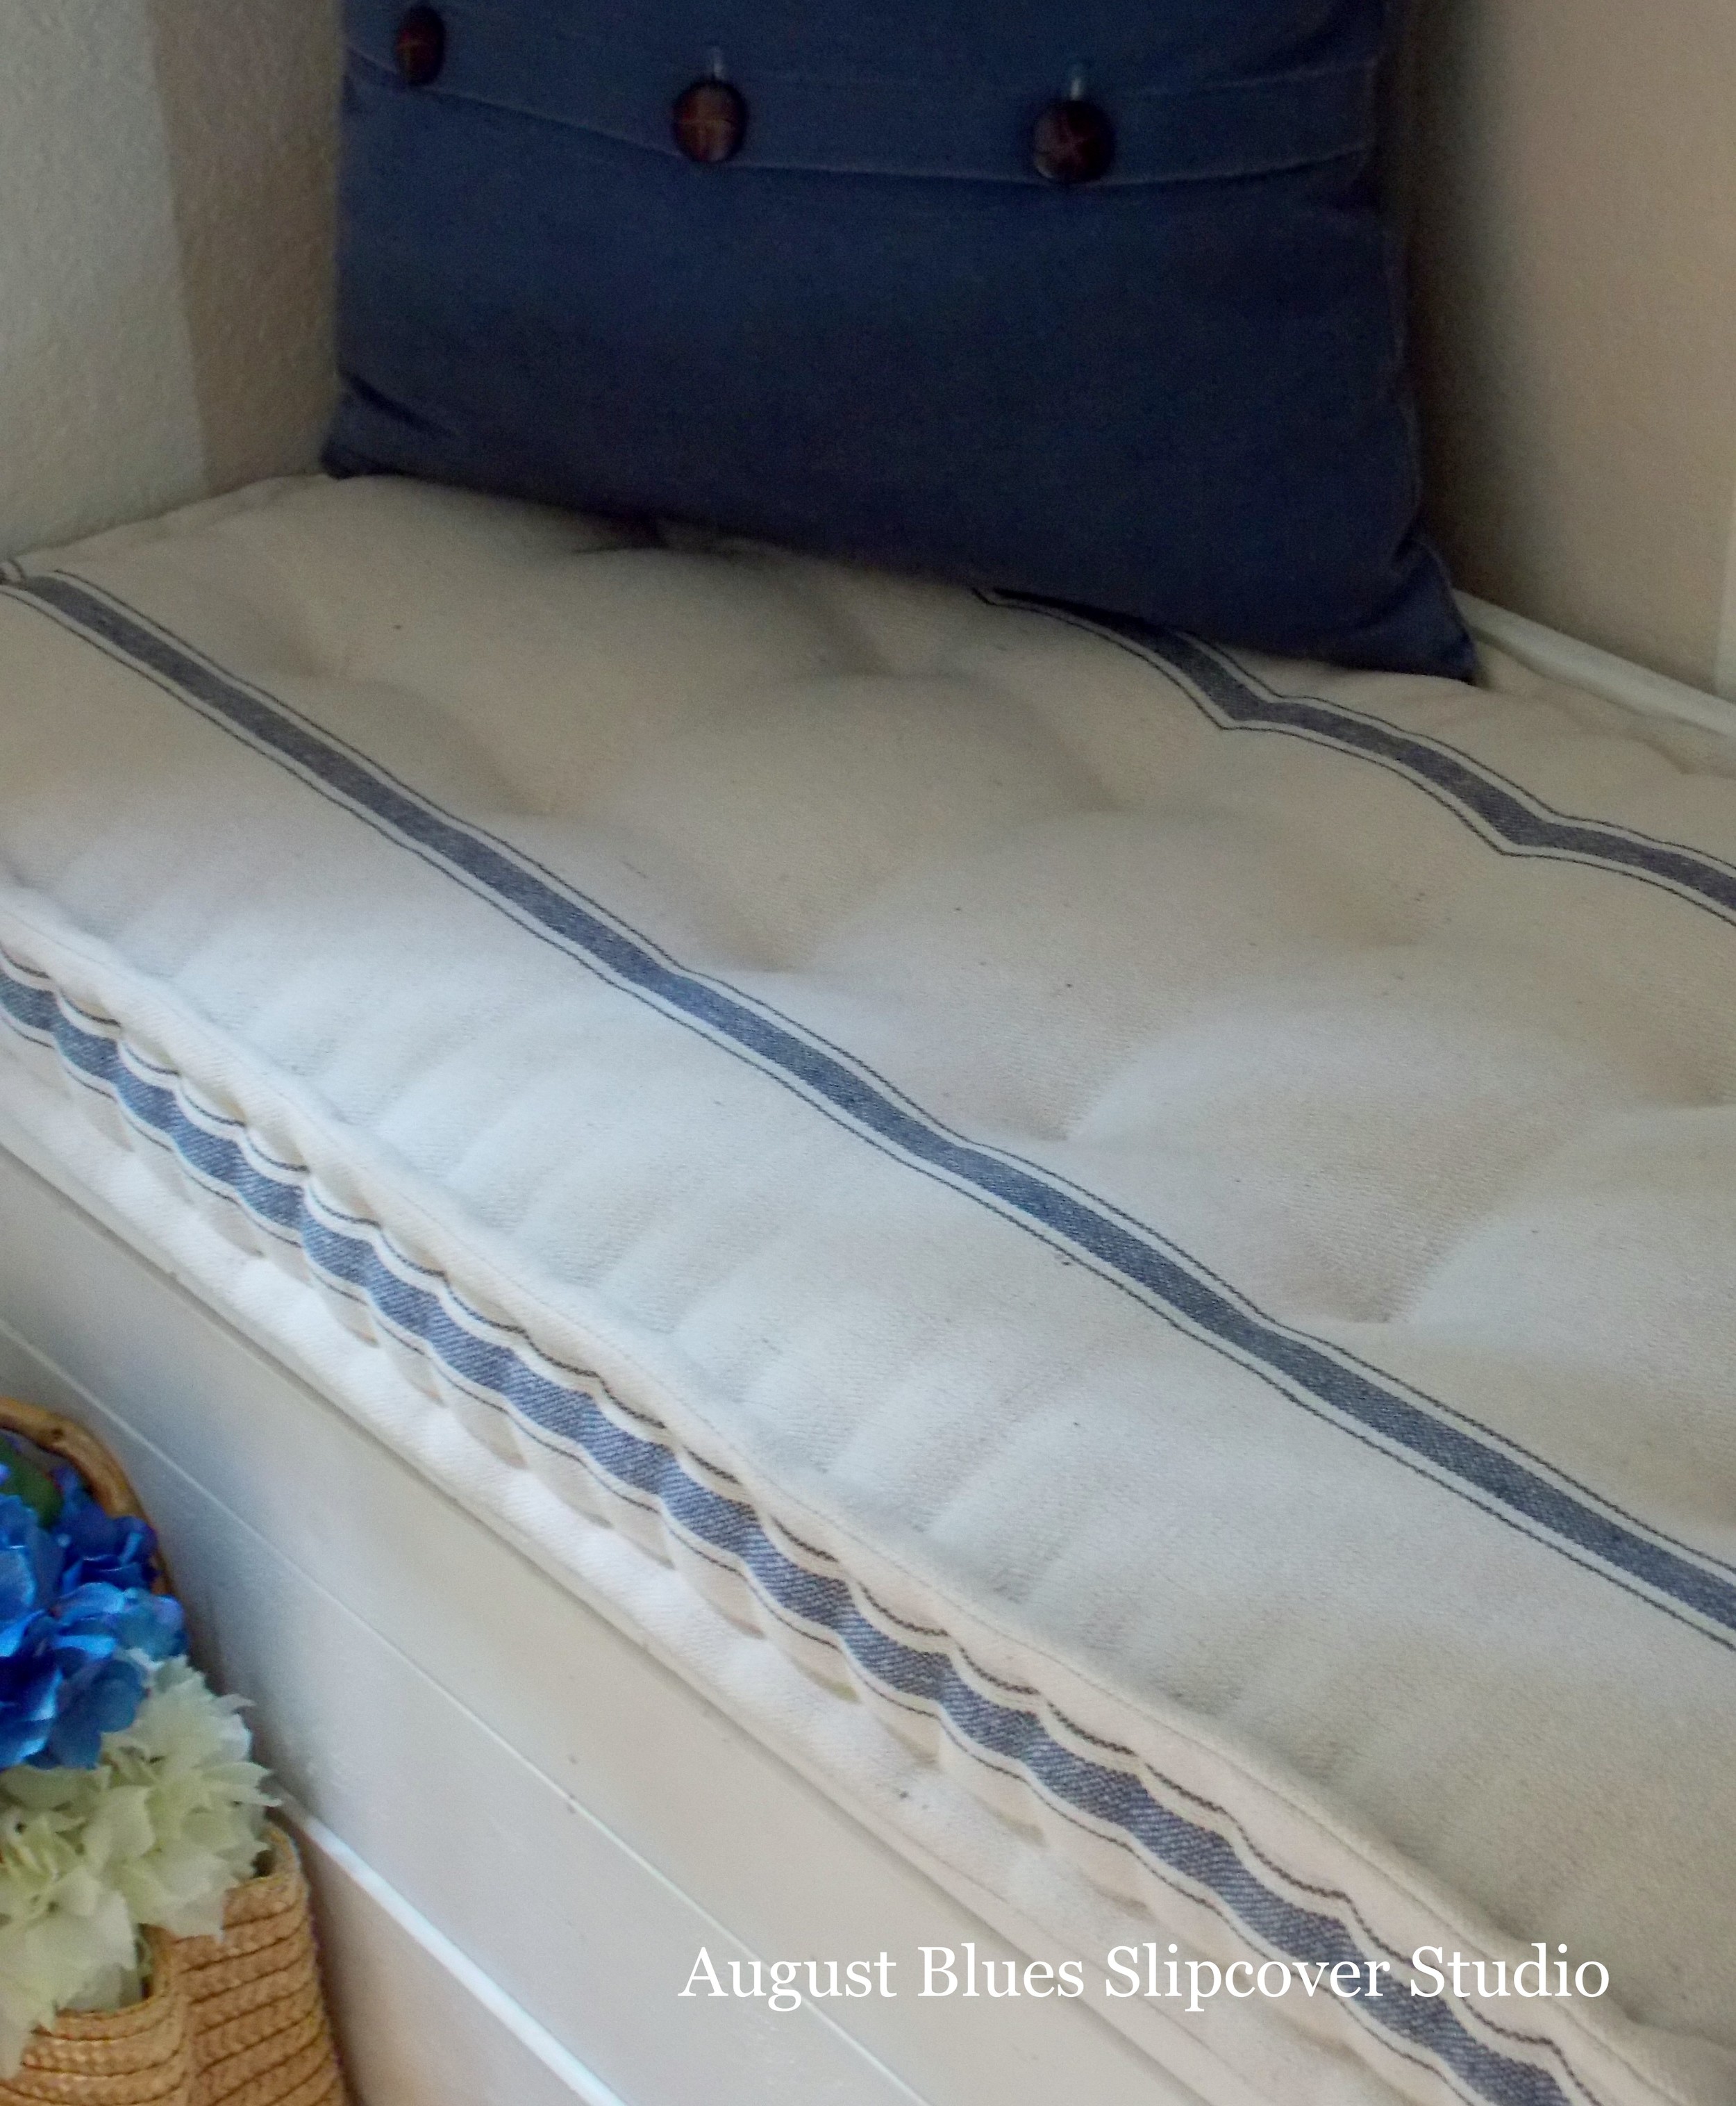
I promised this post some time ago, after I did these cushions for a client...
... French mattress cushions! I finally got around to making my own, and now I have the tutorial for you as well :)
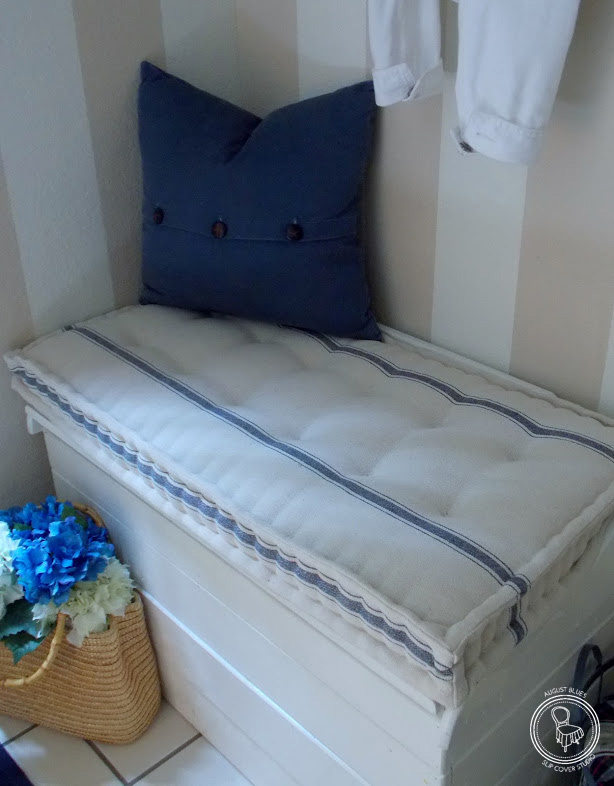
For this project, I made a new cushion for a bench/trunk that lives by our front door (you can see the space here, with the original cushion). As soon as I had a chance to work with the feedsack fabric from Decor Steals, I knew that was the fabric I wanted to use for this new cushion.
Please note: this is not a slipcover! You will not be able to take the cover off the cushion once you have constructed it.
So, here is the step-by-step...
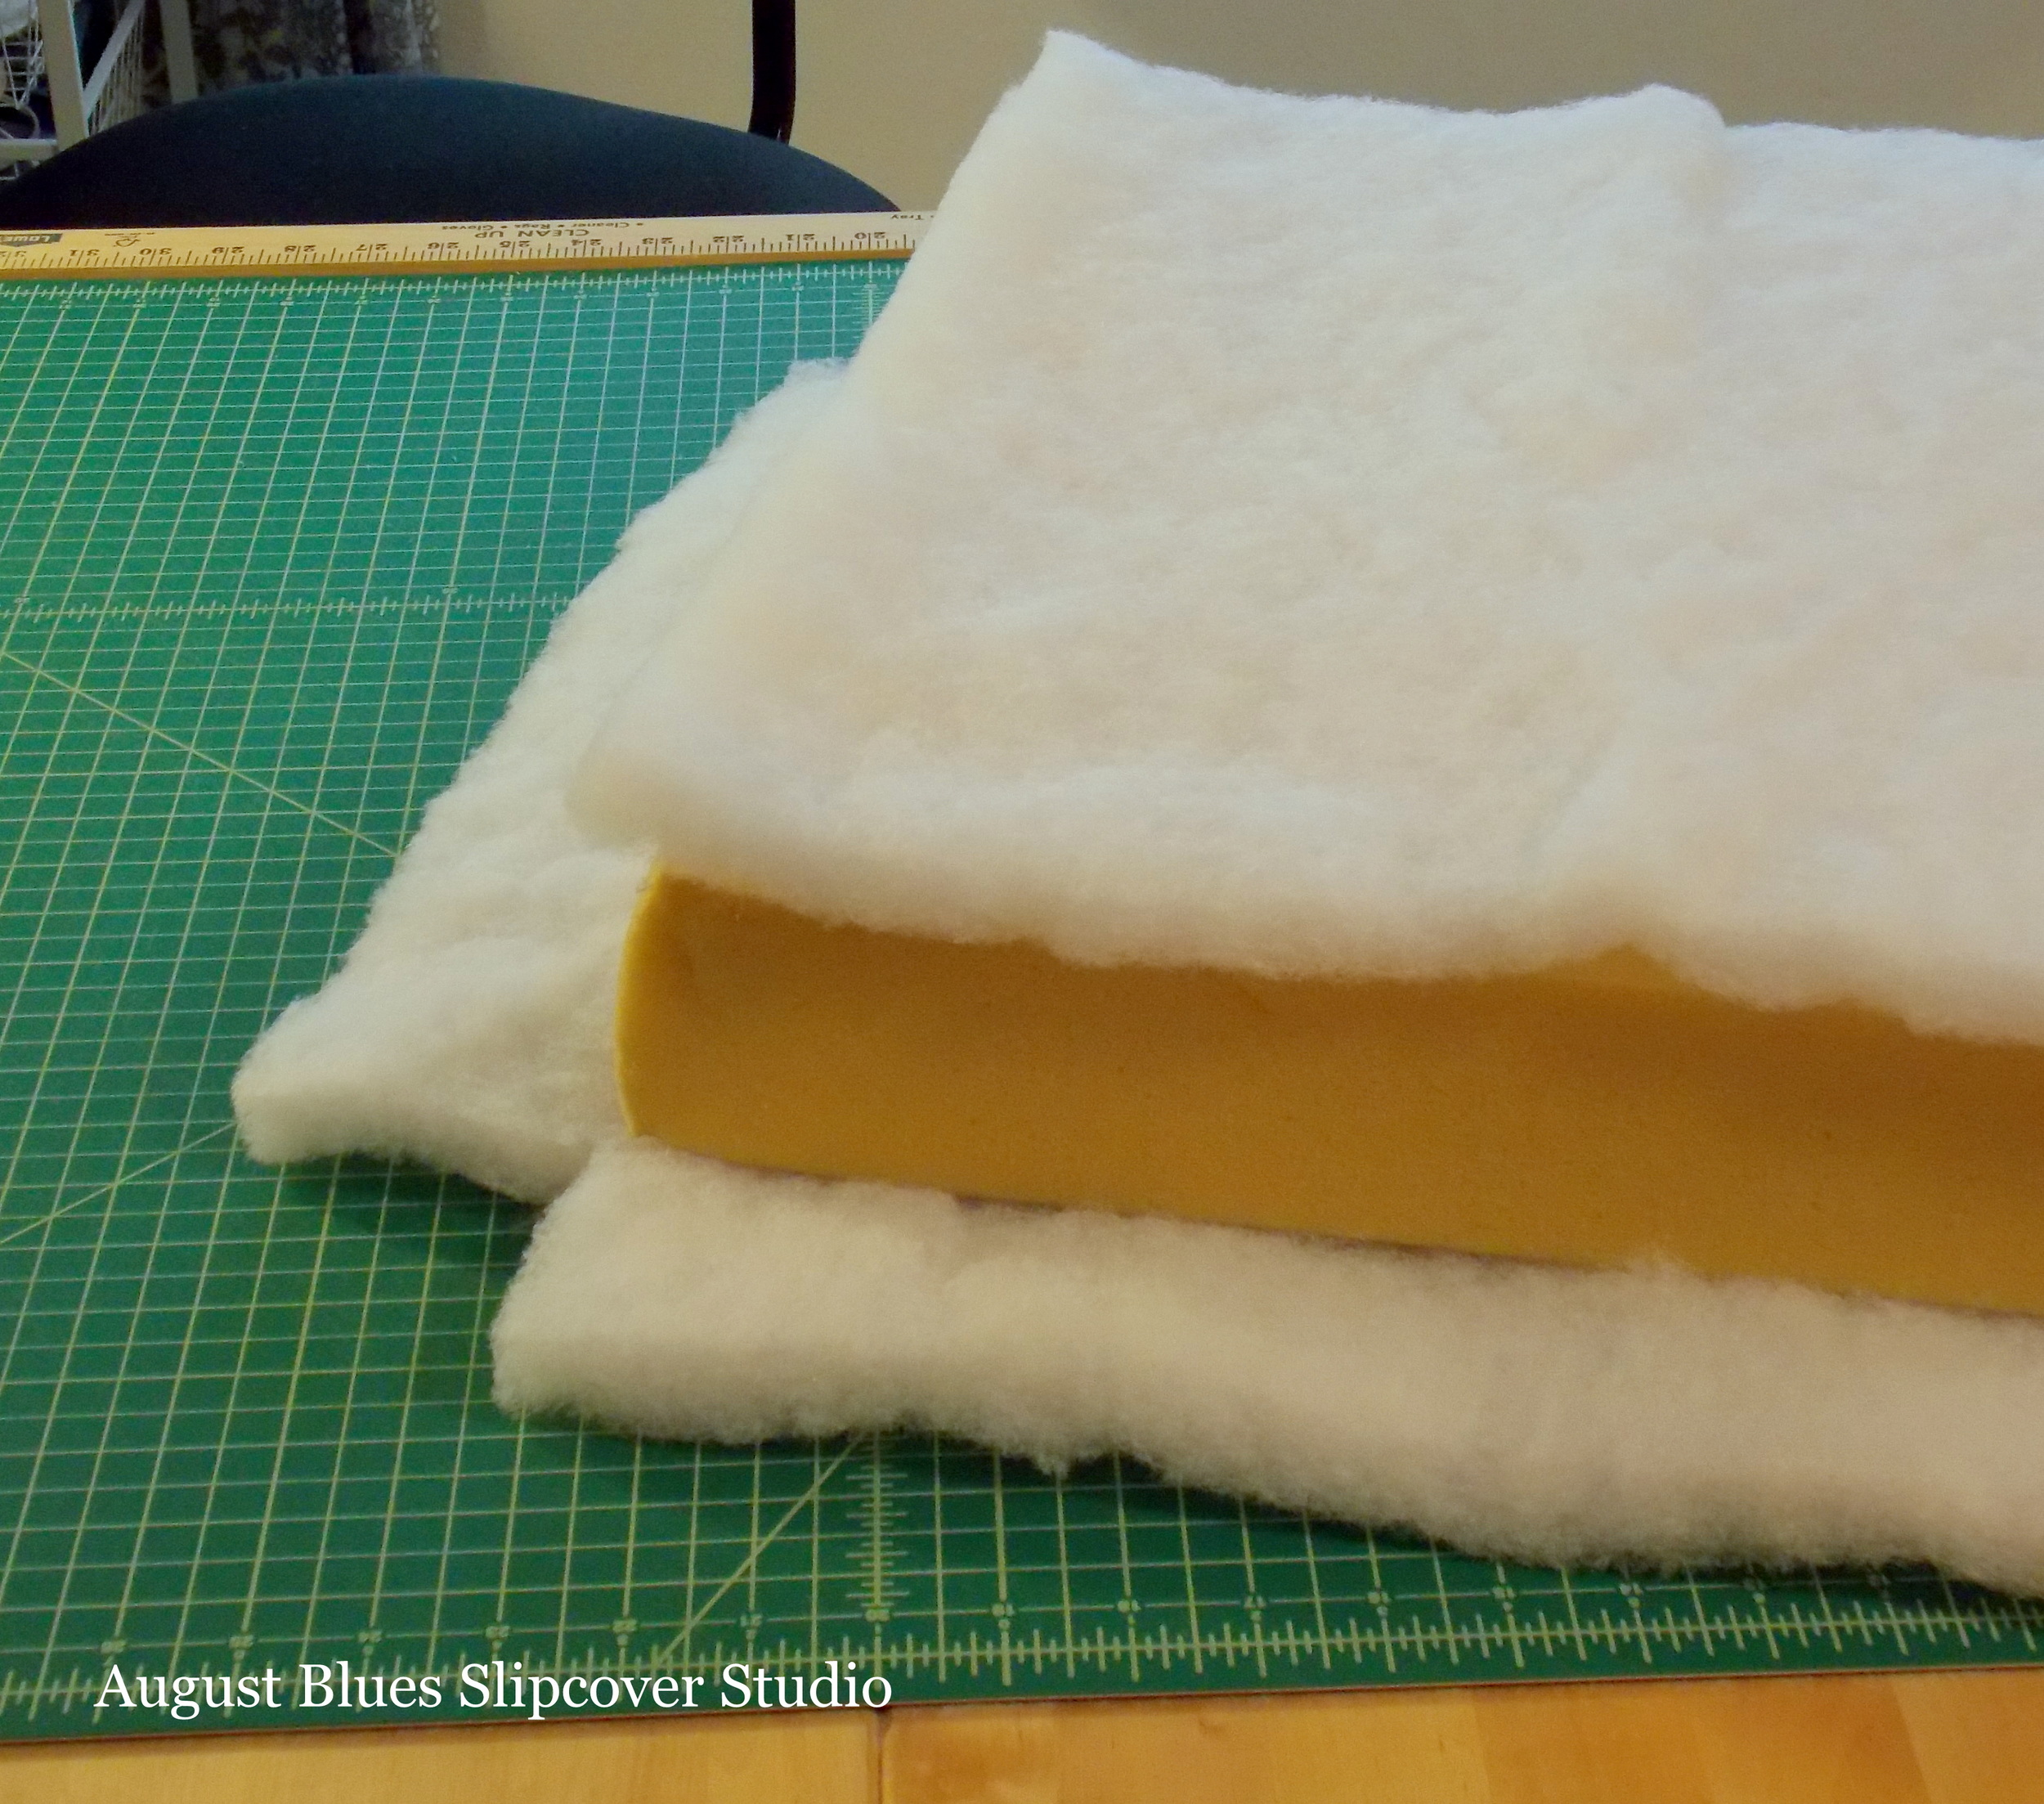
Start with getting your cushion materials ready. For the "stuffing" I used the 3" foam cushion I already had (I think my client's cushions used 2" foam, so use your judgement) and 1" batting to wrap around it. I trimmed the foam down to be slightly smaller than the space it needed to go and cut the batting like this:
...the piece of batting with the notched corners will wrap around the sides of the foam, to meet the top piece. You can use spray adhesive to tack the layers together to make it easier to insert it into the cover later, but I managed fine without it.
Next, make a basic boxed cushion cover...
... top and bottom, and four sides. It may be tempting to wrap the fabric around your cushion to reduce the number of seams you have to sew, but you do want the seams at all the edges - it helps get the right look in the end. Match your stripes if you need to. Sew your pieces together like usual, but leave one long side open...
Now, insert the foam and batting "sandwich" into the cover. This takes a bit of work, depending on how big your cushion is. The important thing is to make sure that you have the batting covering all the way up the sides of the foam and that everything is lying smoothly. You will not be able to go back in to fix it after this point.
Then, hand-stitch the open side closed...
Now comes the fun (but labor-intensive) part that makes these cushions unique - the hand-stitching and tufting!
You will need sturdy thread and a longish needle. I used the thread I usually use for sewing slipcovers, doubled. I also used a straight needle - it might be possible to use a curved needle, but it seemed like that might be more awkward. It might be worth experimenting with. Anyway, these stitches are what makes the cushion so here is what I did....
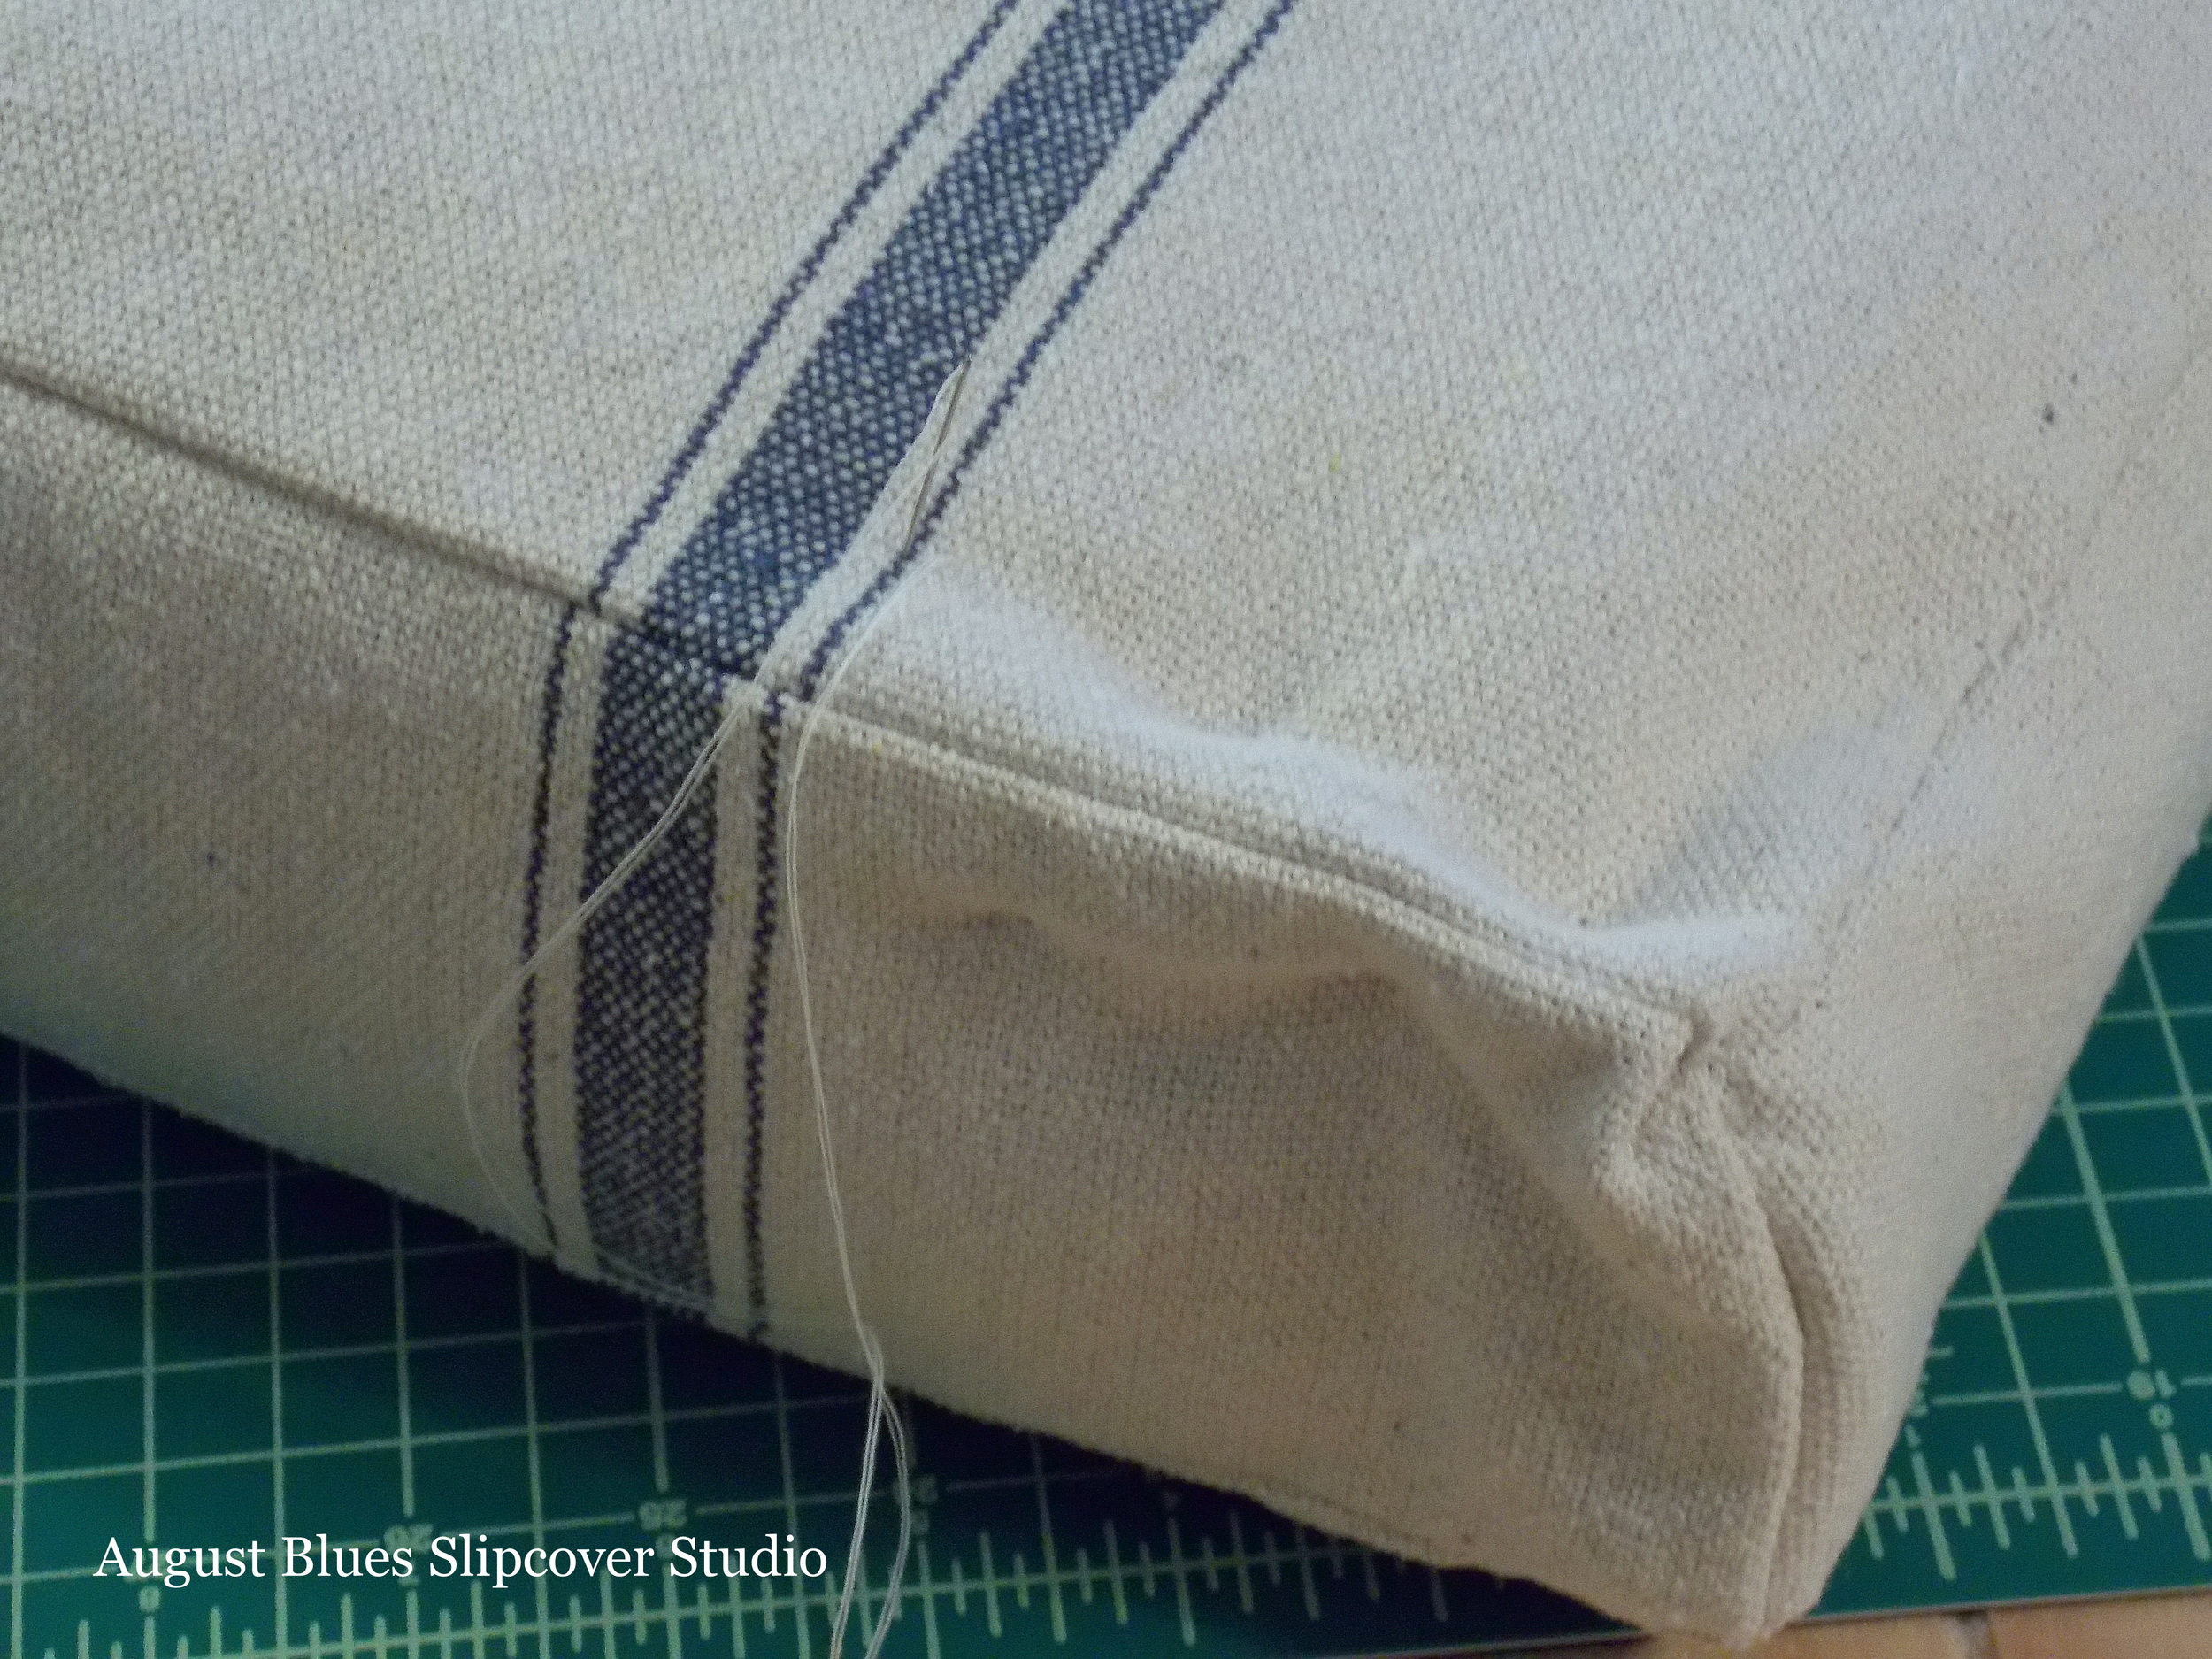
Start at a corner and firmly knot the thread so it won't pull through. The basic technique is a running stitch through the top and sides of the cushion. My stitch length was about 1/8" - 1/4" and I spaced the stitches on the top about 1 1/2" apart (with the stitches on the side staggered in between). My stitches were about 3/4" - 1" on either side of the edge seam. You can measure your stitches to start, but soon you will just be able to eye-ball it; and you will be thankful for relatively even stitches later on ;) Time for a picture :)
I put the needle straight down from the top in order to grab some of the batting (and maybe the edge of the foam) inside and then angled the needle toward the side panel and pulled it through.
Your top and side stitches will be staggered. Pull the thread firmly and continue down the edge. I started my stitches on what would be the bottom of the cushion to establish the rhythm/pattern of the stitches. The edge should end up looking wavy and kind of "fat". Depending on the depth of your cushion, you may want a stitch or two along the vertical corner seams, too. Lots of hard work for your fingers!
Once you have finished going all the way around the bottom edge of the cushion, flip it over and start the top edge. The stitching pattern will be the same, but the key to getting an authentic French mattress look is to line up the top and bottom stitches along the sides (and this is why you want your first row of stitches to be as even as possible)...
... This is what gives that "channeled" look around the edge. Go all the way around the top, knotting the thread securely as you go. Edge stitching done!
Now, give your fingers a rest - tufting is next!
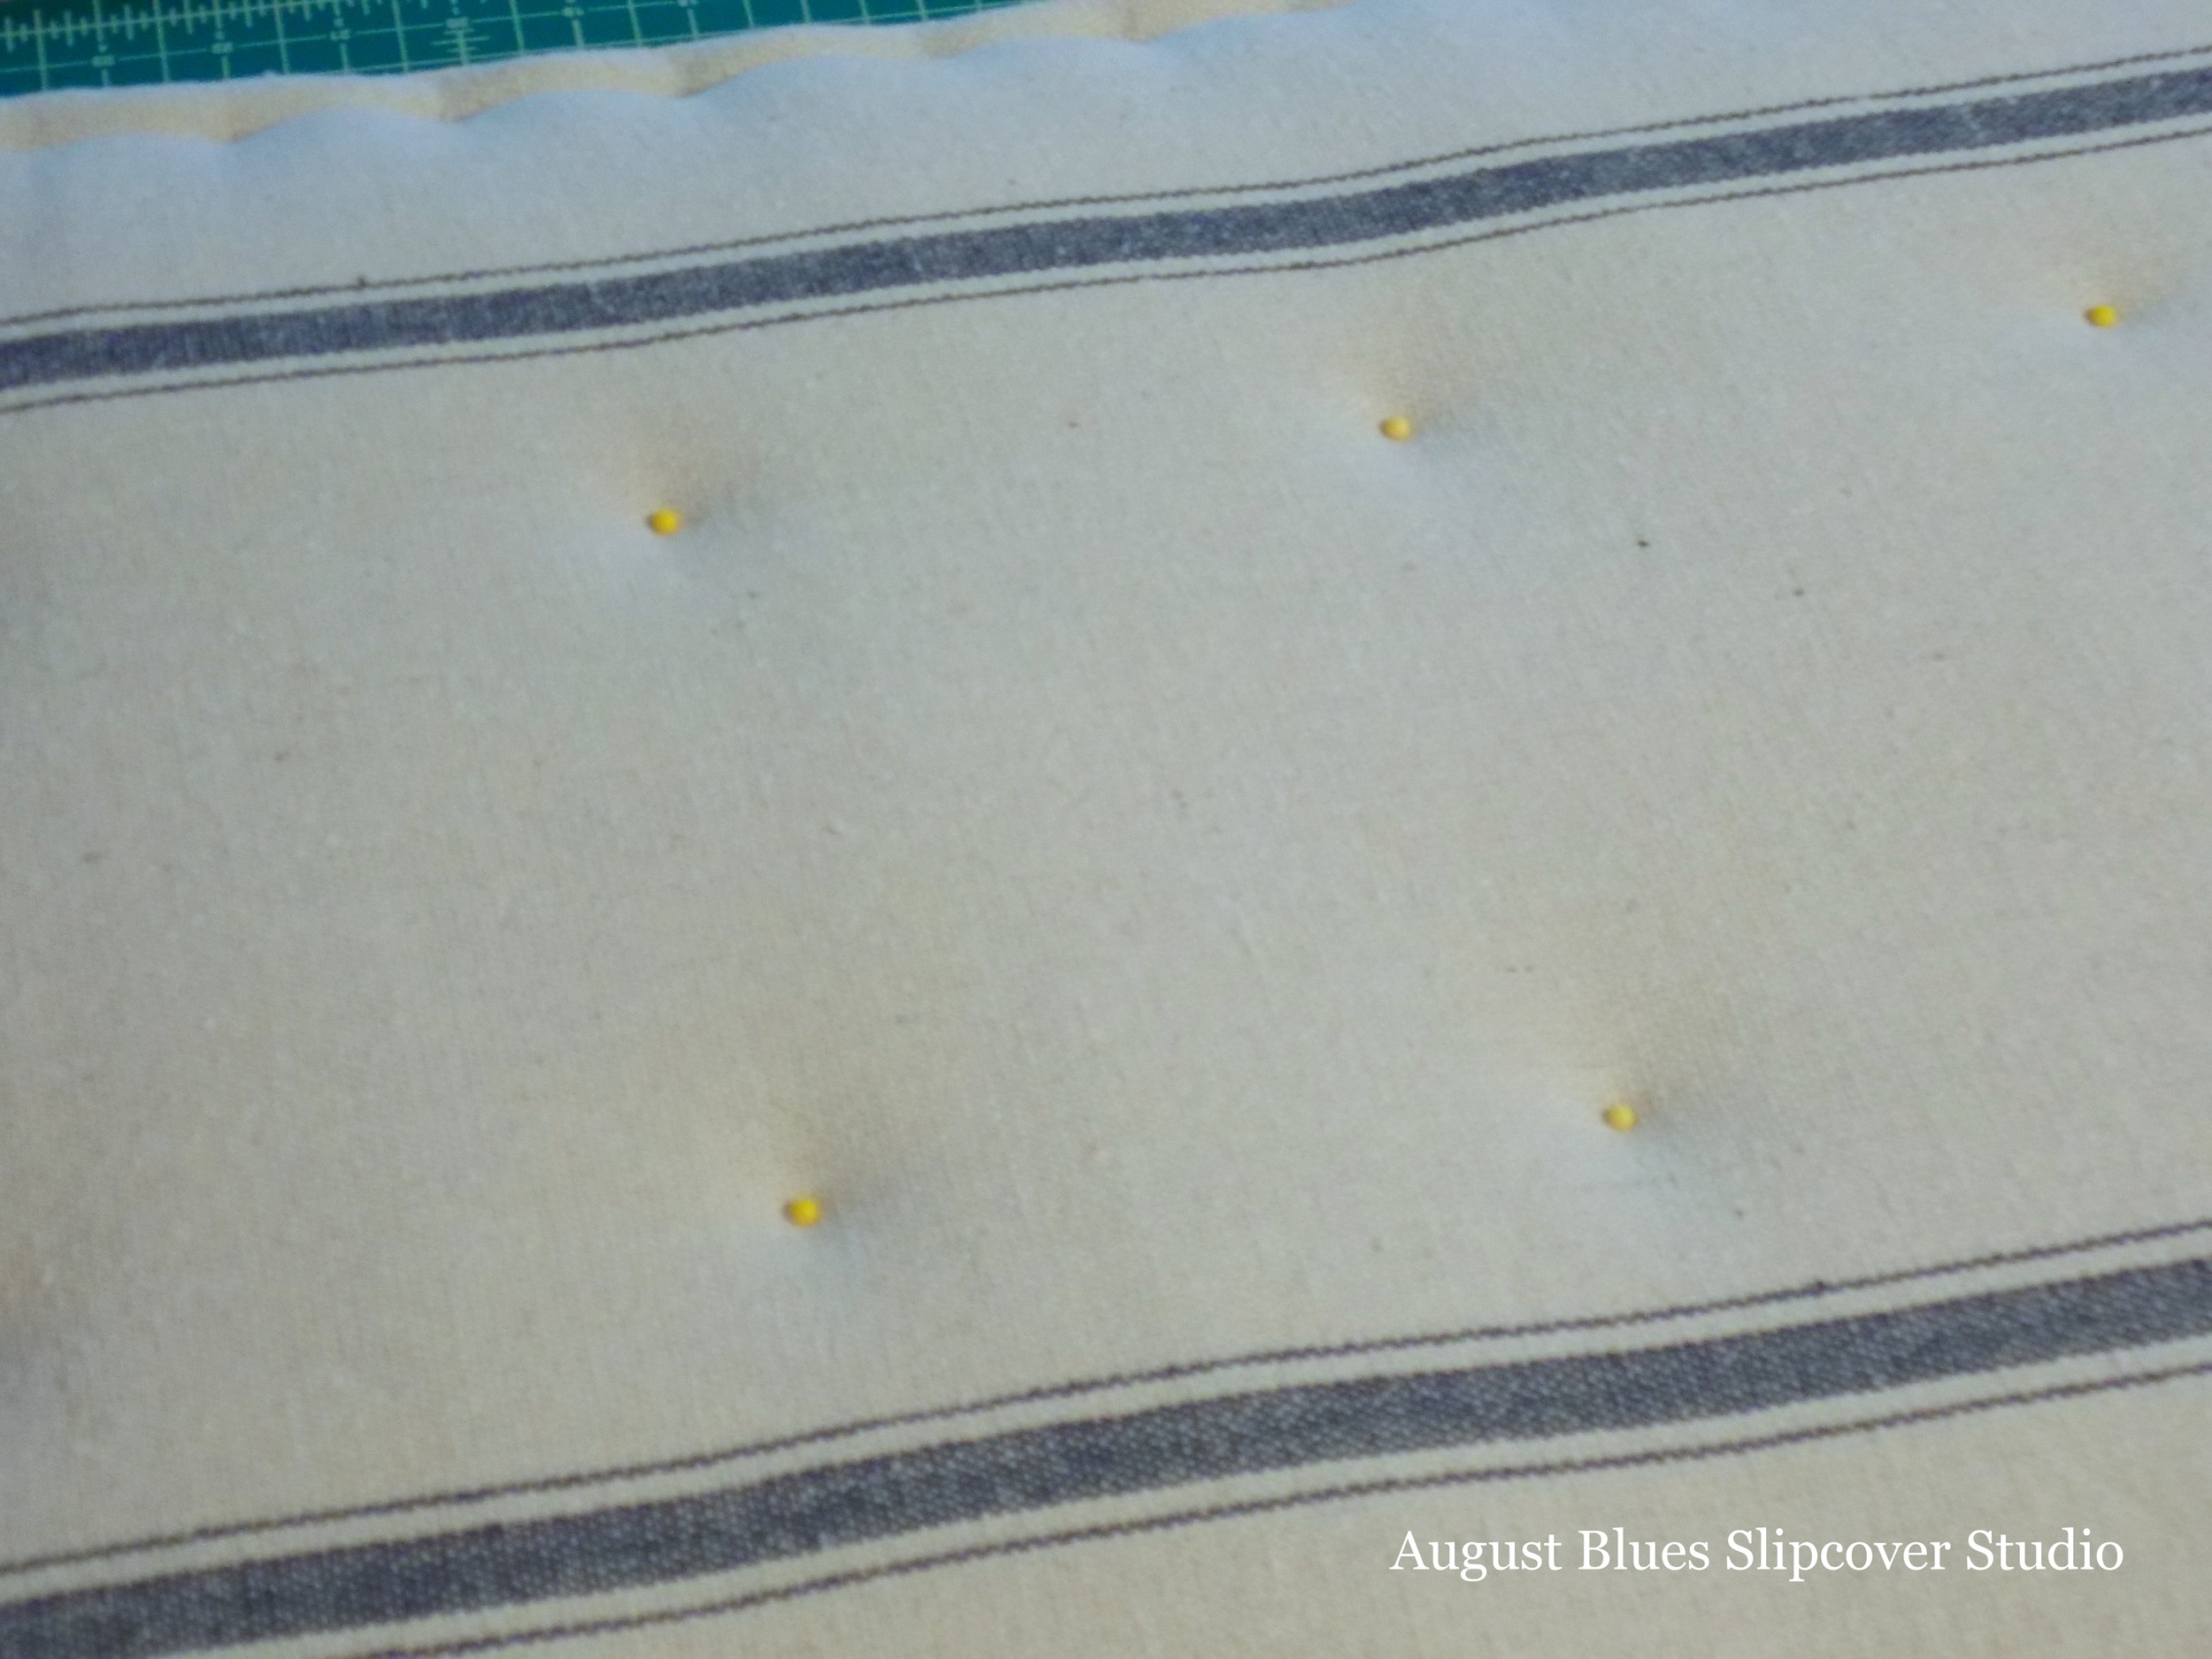
First, mark where you want your tufts to go - I divided the cushion into three, to give me two rows of tufting. Yes, math is involved, since you want you tufts to be evenly spaced across the width and length of your cushion. I marked with pins on the top and bottom (because your tufts need to go straight through the cushion), but you can use chalk or pencil or whatever will be invisible once the cushion is finished.
I used a long upholstery needle (about 5" long) and strong thread, doubled (you could use upholstery thread, but I found it too slippery to knot securely to make the tufts). My thread was about 20" long, after doubling - this was enough length to go through the cushion twice and be able to be knotted. So, put your needle straight through the cushion, making sure it comes out close to your marking on the other side.
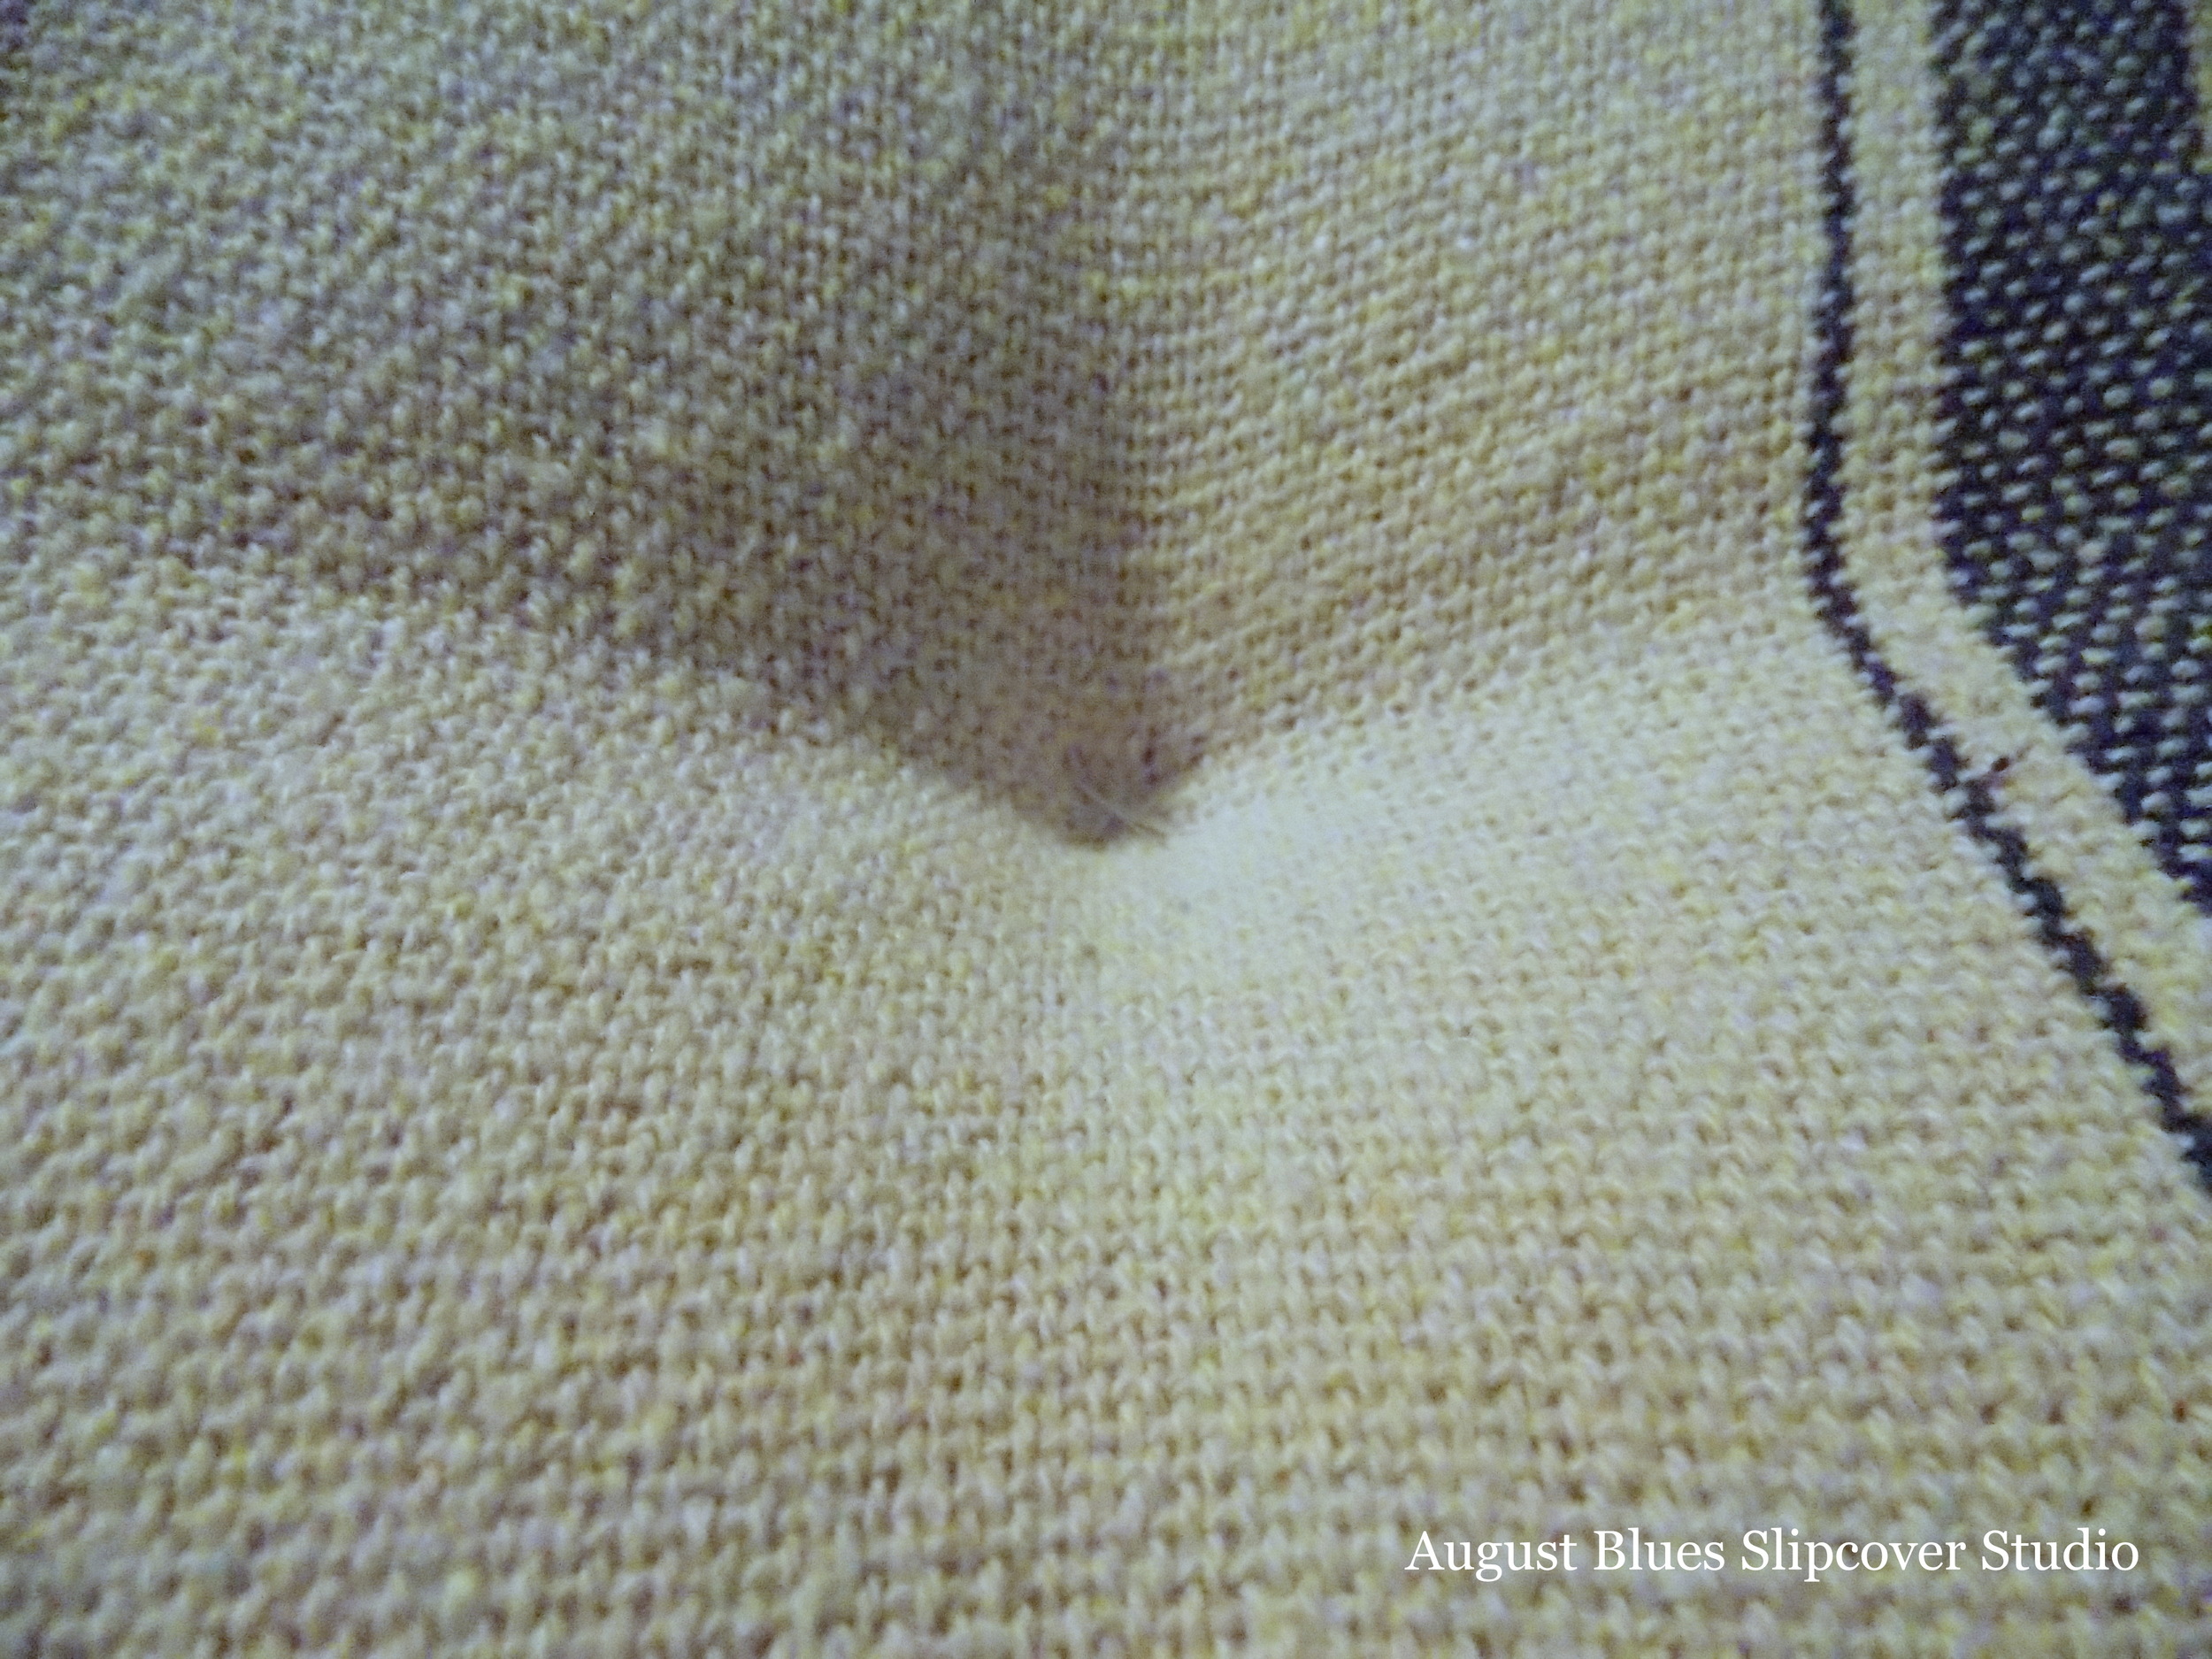
Make a 3/8" - 1/2" stitch and pull the thread back through to the side you started on. Pull thread/stitch firmly and knot it securely. Note: consider how much tension you put on the thread, since you will want all your tufting indentations to be pulled in the same amount. Get another length of thread and make another stitch through the cushion, making an X with the first stitch; pull and knot securely.
Continue with the rest of your tufts, being careful to pull each tuft so it looks like the others.
Tie the last thread and rejoice that you are done!
Here is what my cushion looks like in its new home...
Are you ready to add a little French style to your home?
Sherri
P.S. If you have any questions, or if there is anything I can clarify, let me know in the comments :)
